![]()
XAMPP is a popular and powerful open-source software stack that facilitates web development by providing a simple way to create a local server environment on your computer. This environment includes the Apache web server, MySQL database, PHP, and more, making it ideal for testing and developing websites and web applications.
XAMPP stands for Cross-Platform (X), Apache (A), MySQL (M), PHP (P), and Perl (P).
XAMPP, an open-source web development stack, was first released in the year 2002. It was created by the Apache Friends (hence the name “XAMPP”).
Table of Contents
Installing XAMMP
This step-by-step guide will walk you through the process of installing XAMPP on your Windows.
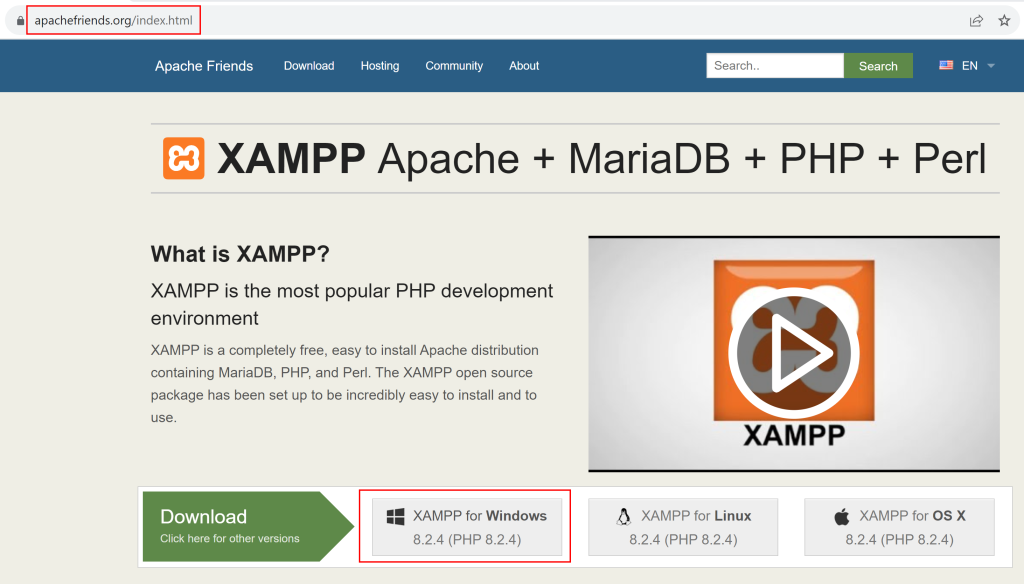
Download XAMPP
Visit the XAMPP official website. You will find versions available for Windows, macOS, and Linux. Click on the “XAMPP for Windows” download button.
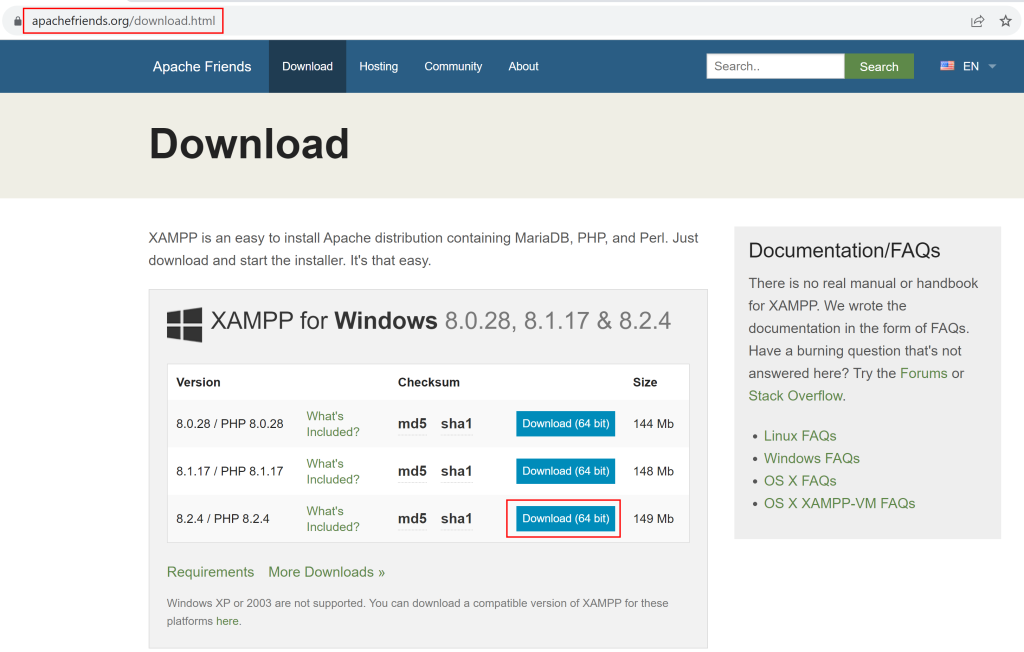
You can download the other version of XAMPP using this download link.
Run the Installer
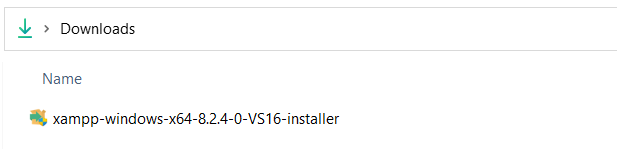
Locate the downloaded XAMPP installer file (xampp-windows-x64-8.2.4-0-VS16-installer.exe) and double-click it to begin the installation process.
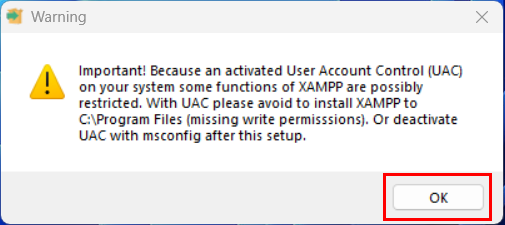
You may encounter a User Account Control (UAC) prompt on Windows. Click “Ok” to allow the installer to make changes to your system.
Setup Wizard
XAMPP Setup Wizard will open. Click “Next” to continue.

Select Components
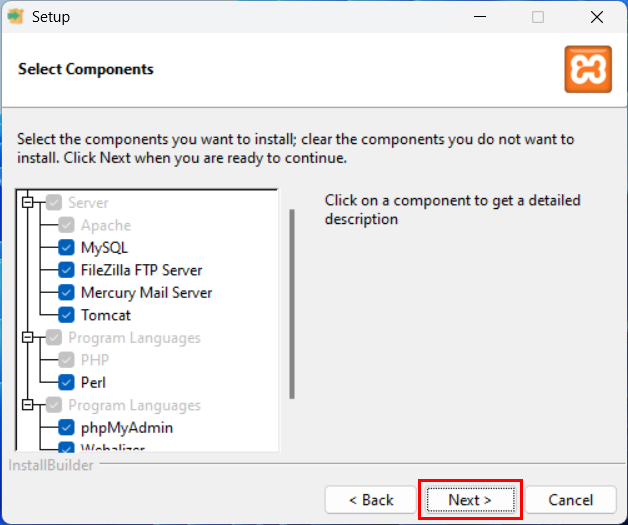
Select the components you want to install. By default, XAMPP will install Apache, MySQL, PHP, and phpMyAdmin. You can select or deselect components as per your requirements. For most web development purposes, it’s recommended to leave all components checked. Click “Next” to continue.
Installation Folder Location
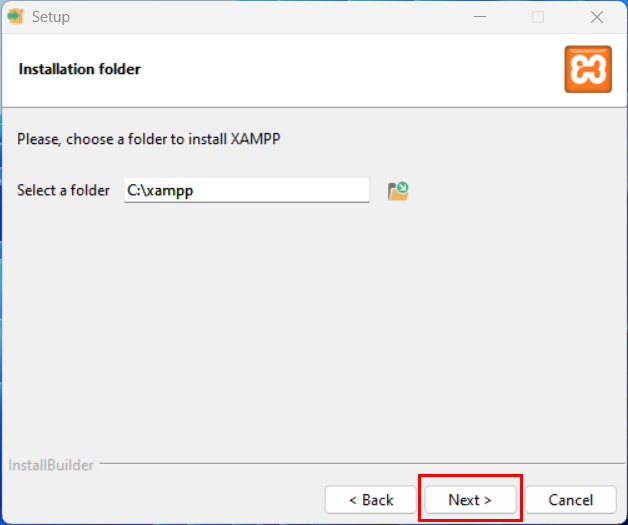
Select the installation folder where you want to install XAMPP. By default, XAMPP installs to “C:\xampp” but you can choose a different location if needed, but it’s advisable to keep the default setting for simplicity. Click “Next” to continue.
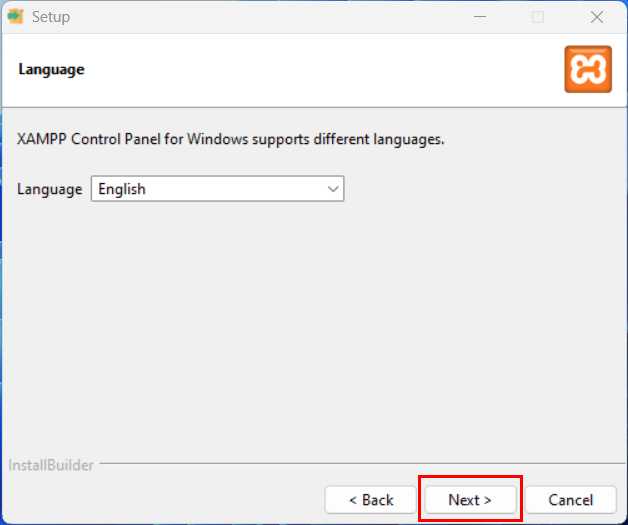
Select Language
In the following screen, you can select language preference. Click “Next” to continue.
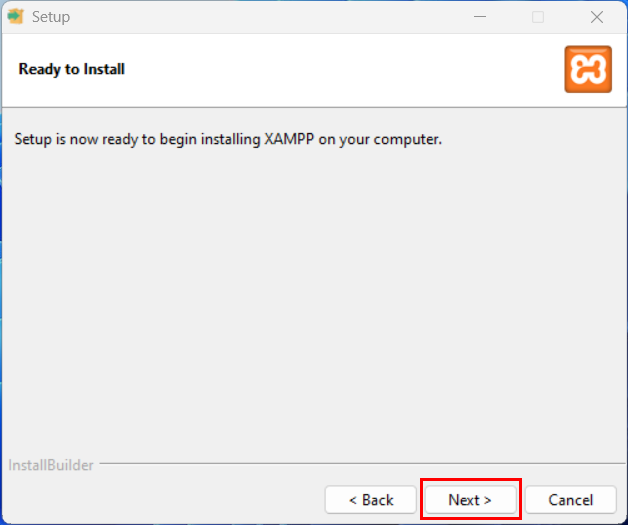
Install
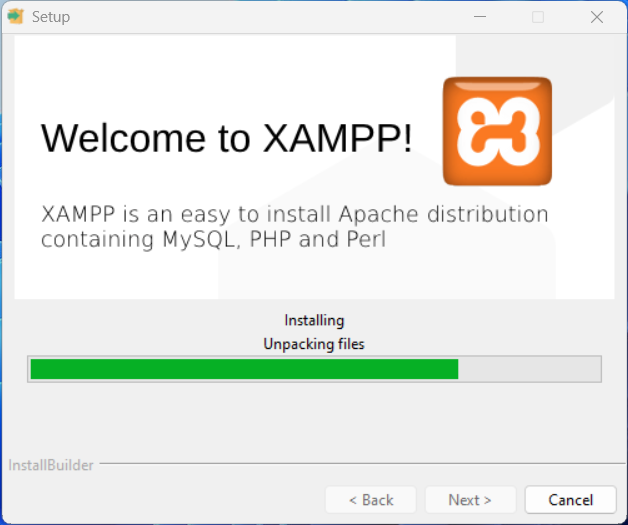
Review your settings, and if everything looks good, click “Next” to start the installation.
During the installation, you may be prompted by your operating system’s firewall to allow network access for Apache and other components. Ensure that you allow access for these components to work properly.
Complete Installation and Launch XAMPP Control Panel
Once the installation completes, you can choose to launch the XAMPP Control Panel. Make sure this option is selected and click “Finish“.
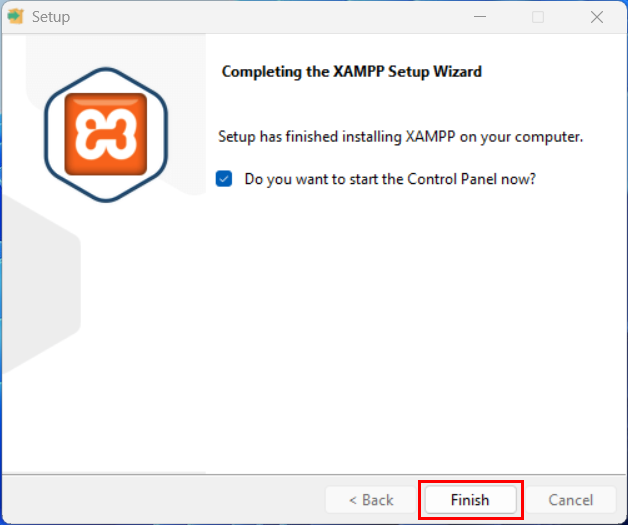
After clicking on finish, XAMPP Control Panel gets launch. Click Start button to start the services.
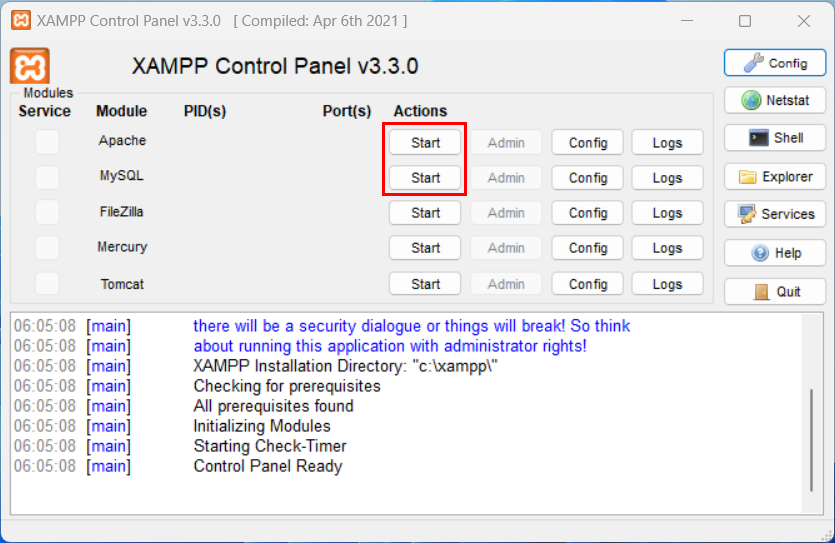
Start Apache and MySQL using XAMPP Control Panel
After launching control panel, click Start button to start Apache and MySQL server. By default for Apache gets port 80 and for MySQL gets port 3306 assigned.
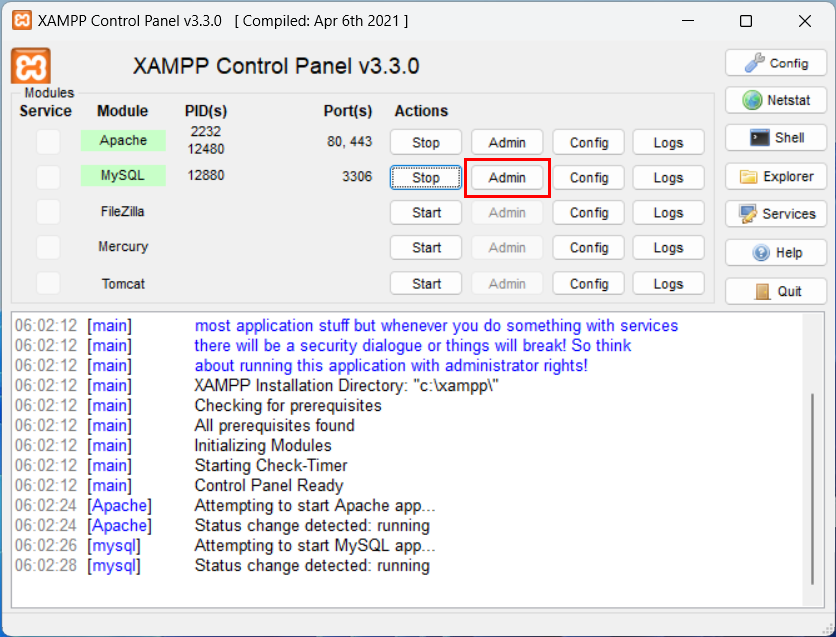
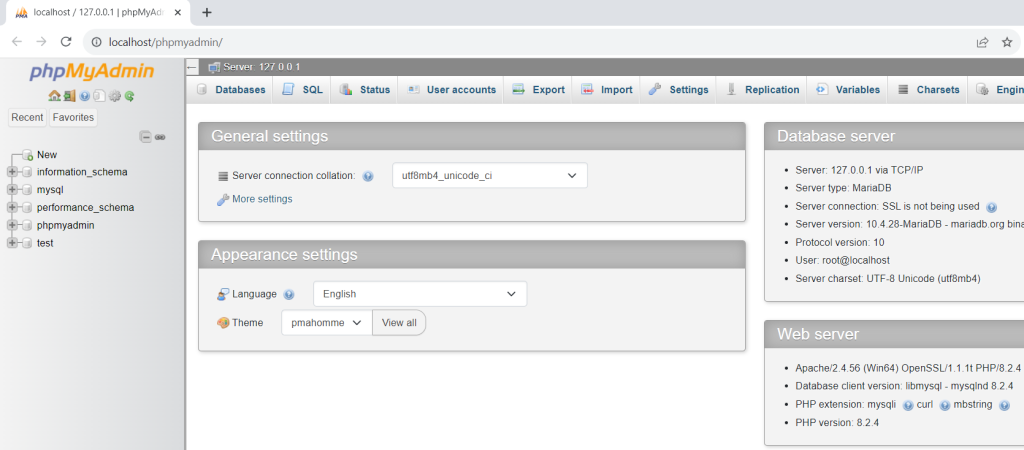
Click on Admin button to start the phpMyAdmin MySQL GUI screen.
Configure Environment Variables for PHP
Configuring environment variables for PHP on Windows is essential for running PHP scripts and applications from the command line or local web server.
Locate Your PHP Installation Directory
By default, XAMPP installs PHP in its “C:\xampp\php” directory, while standalone PHP installations may be found in “C:\Program Files\php” or another location.
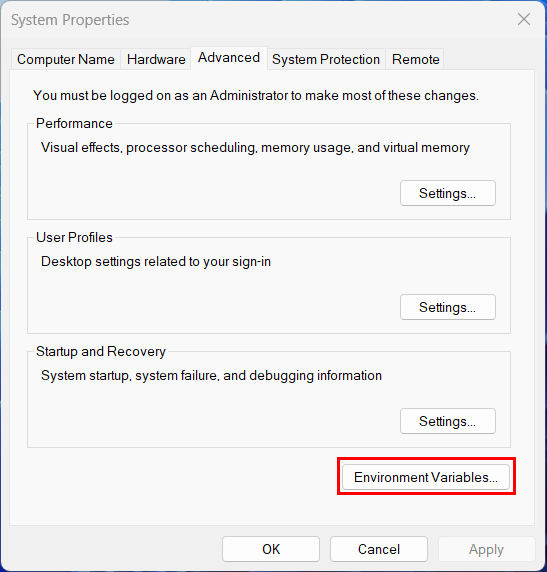
Access Environment Variables
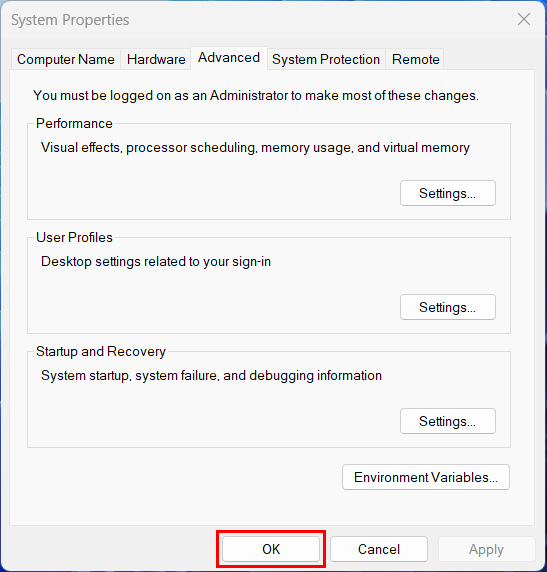
Right-click on “This PC” (or “My Computer”) and select “Properties“. Click on “Advanced system settings” on the left side to open “System Properties > Advance” to access Environment Variables option.
Or Click Windows key on keyboard and search for “Environment Variables” and click to open “System Properties > Advance” to access Environment Variables option.
Edit System Environment Variables
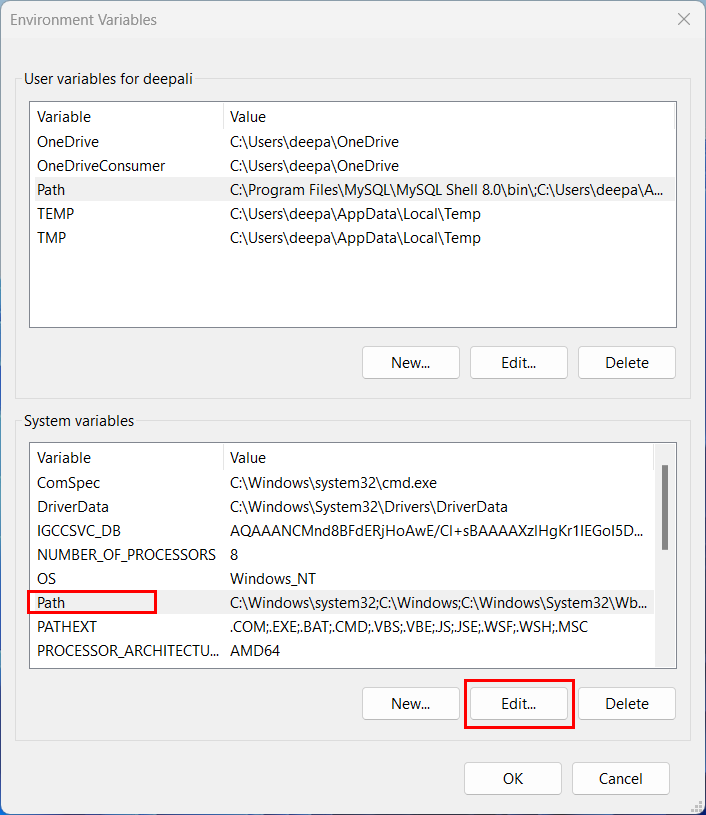
In the “Environment Variables” window, you’ll see two sections: User Variables (for the current user) and System Variables (for all users on the computer).
To make PHP globally available, click on “Path” under the “System Variables” section, and then click “Edit“
Add PHP Directory to Path
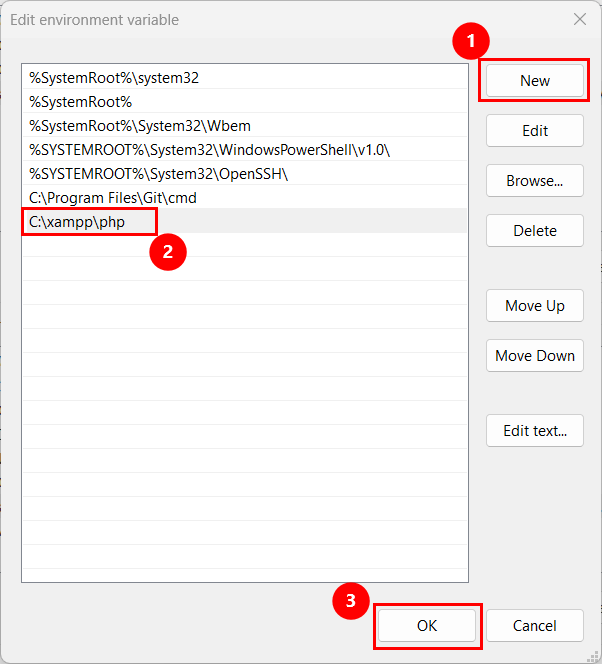
In the “Edit Environment Variable” window, click “New” and enter full path to the PHP directory “C:\xampp\php” and click “OK“
If you’re using a standalone PHP installation, make sure to enter the correct path to your PHP directory.
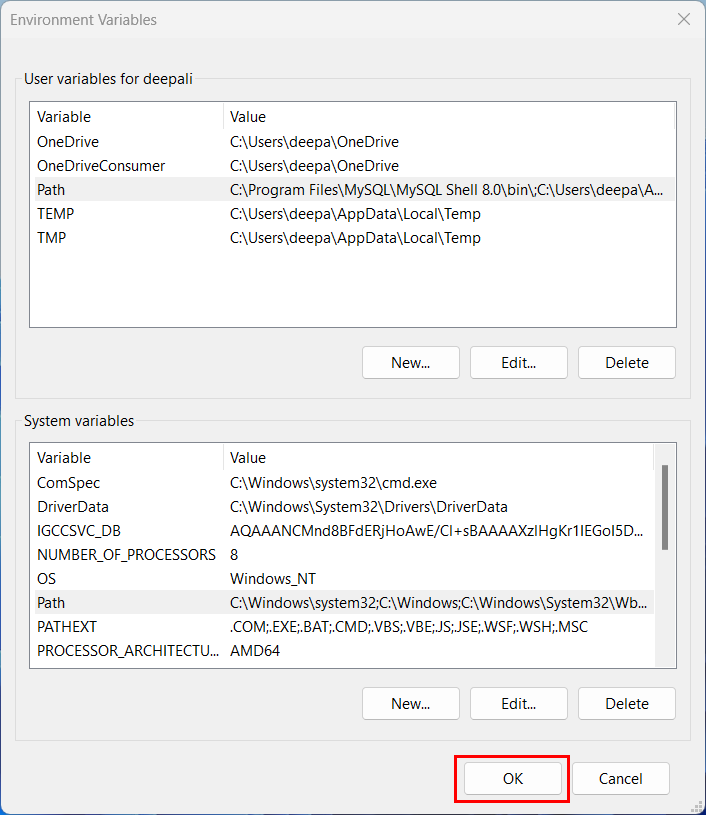
Apply further setting by click “OK” and again click “OK“.
Verify PHP is access Globally
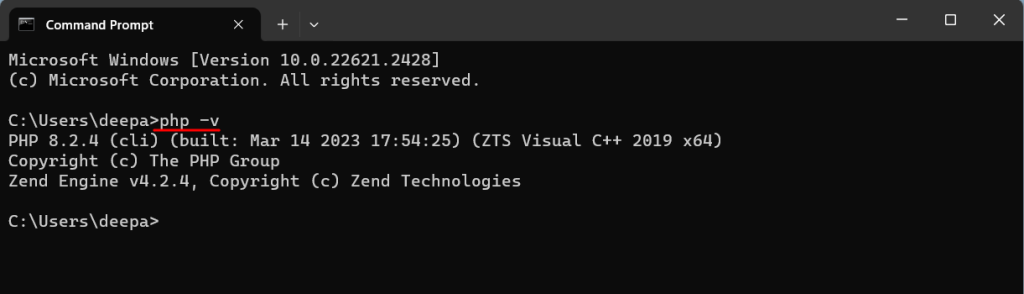
To confirm that the changes have taken effect, open a command prompt or PowerShell window. Run below command and press Enter. You should see the PHP version information if the installation was successful.
php -v
Features of XAMPP
It offers a range of features and components that make it popular among developers. Here are some of the key features of XAMPP:
- Open Source: XAMPP is open-source and free to use, making it an affordable and accessible solution for web development.
- Cross-Platform Compatibility (X): XAMPP is designed to work on multiple operating systems, including Windows, macOS, and Linux. This cross-platform support makes it accessible to a wide range of developers.
- Apache Web Server (A): XAMPP includes the Apache HTTP Server, one of the most widely used web servers in the world. Apache is highly configurable and can handle various web development tasks, including serving web pages, handling requests, and managing web applications.
- MySQL Database (M): XAMPP bundles the MySQL database server, a robust and efficient relational database management system (RDBMS). MySQL is commonly used for storing and managing data in web applications.
- PHP (P): PHP is a popular server-side scripting language used for web development. XAMPP includes PHP, allowing developers to create dynamic and interactive web applications. It also provides various PHP extensions and libraries for extended functionality.
- Perl (P): XAMPP also includes Perl, a versatile and powerful scripting language often used for web development, system administration, and more. While PHP is more common for web development, Perl can be handy for specific tasks.
- phpMyAdmin: XAMPP comes with phpMyAdmin, a web-based database management tool for MySQL. This user-friendly interface allows developers to easily manage databases, create tables, run SQL queries, and perform other database-related tasks.
- FTP Server: XAMPP includes an FTP server, making it easier to transfer files to and from the server. This is especially useful for web development tasks such as uploading website files to a remote server.
- SSL/TLS Support: XAMPP has built-in support for SSL/TLS (Secure Sockets Layer/Transport Layer Security) protocols, allowing you to work on encrypted connections and secure websites and test HTTPS functionality.
- Development and Testing Environment: XAMPP provides a local development environment, allowing developers to build and test web applications on their own computers before deploying them to live servers. This enhances the development and debugging process.
- Virtual Host Configuration: XAMPP allows you to set up virtual hosts, enabling you to work on multiple websites and web applications simultaneously. This is valuable for developers who manage multiple projects.
- Community Support: XAMPP has a large and active community of users and developers. This means you can find plenty of documentation, tutorials, and forums to help with any issues you may encounter.
By following this step-by-step guide, you can quickly and easily install XAMPP on your computer, enabling you to build, develop and test web applications and websites without needing an external server before deploying them to a live server.
Your PHP environment variable is now configured, and you can run PHP scripts and commands from the command line or use it in various development tools without specifying the full path to the PHP executable each time.